Key Takeaways
- Keep the outdoor kitchen layout simple and compact to reduce material and labor costs.
- Use an existing patio when possible instead of paying to build a new foundation.
- Choose a freestanding grill and movable prep station as affordable alternatives to custom built-ins.
- Use coordinated finishes, lighting, and furniture to create a polished, high-end appearance for less.
- Add affordable storage to reduce clutter and keep the cooking area organized.
- Spend more on durable, frequently used features while saving on decorations and easily replaced items.
- Build the outdoor kitchen in stages to spread out costs and avoid paying for features you may not use.
An outdoor kitchen can turn a basic backyard into a comfortable place for cooking, eating, and entertaining. However, photos of luxury outdoor kitchens often feature built-in grills, stone counters, custom cabinets, and large appliances. Those features can quickly push a project beyond the average homeowner’s budget.
The good news is that you do not need a high-end renovation to create an outdoor cooking area that looks polished. Smart material choices, a simple layout, and a few carefully selected features can provide the upscale appearance you want for much less. You can also complete the project in stages instead of paying for everything at once.
Before you begin, decide how you will actually use the space. A homeowner who mainly grills on weekends may only need a cooking surface, prep counter, and storage. Someone who entertains frequently may want additional seating and serving space. Building around your real needs is one of the easiest ways to avoid unnecessary spending.
Here are practical outdoor kitchen ideas that can give your backyard a high-end look while keeping your budget under control.
1. Start With a Simple Outdoor Kitchen Layout
Large outdoor kitchens can look impressive, but they also require more materials, appliances, and labor. A smaller layout can provide everything you need without filling the backyard or stretching your budget.
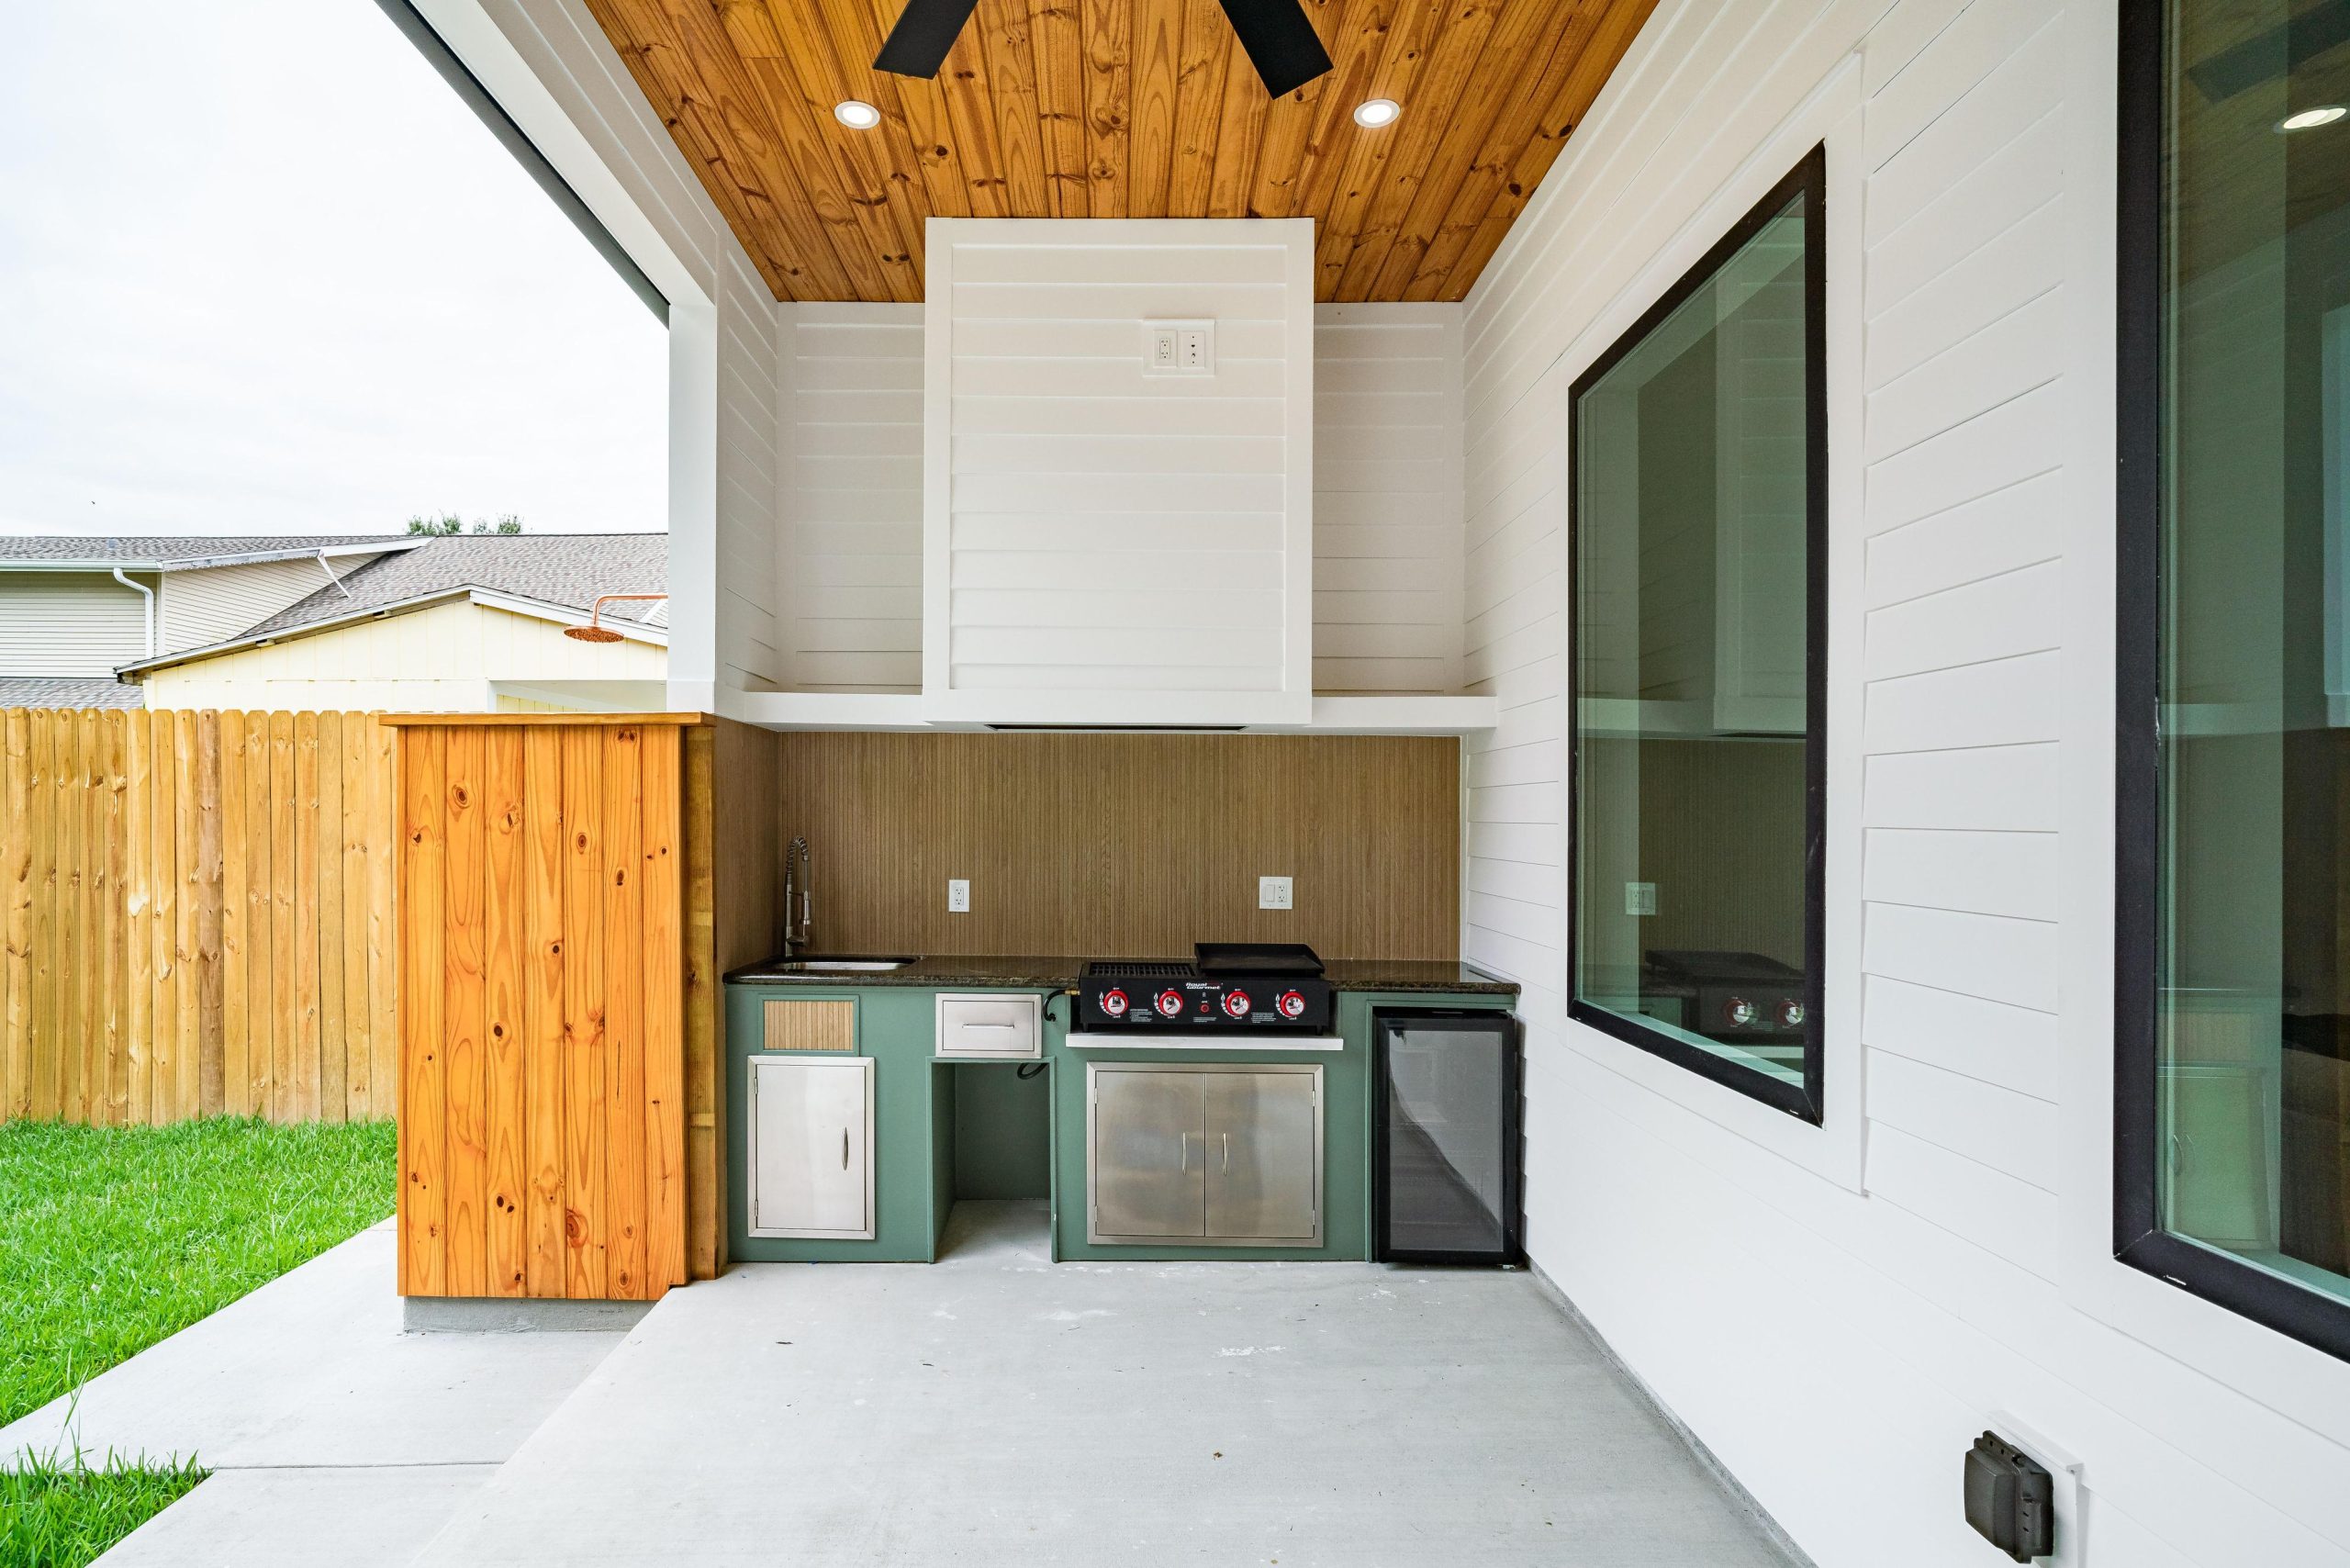
A straight-line kitchen is one of the simplest designs. Place the grill, counter, and storage along one wall or edge of a patio. This keeps the cooking area compact and makes it easier to move between tasks.
An L-shaped design can work if you need more counter space. One side can hold the grill and food preparation area, while the other provides room for serving or seating.
Before construction begins, measure your available space and mark the proposed layout with painter’s tape, chalk, or temporary objects. Walk around it and make sure there is enough room to cook and move safely.
2. Use an Existing Patio as the Foundation
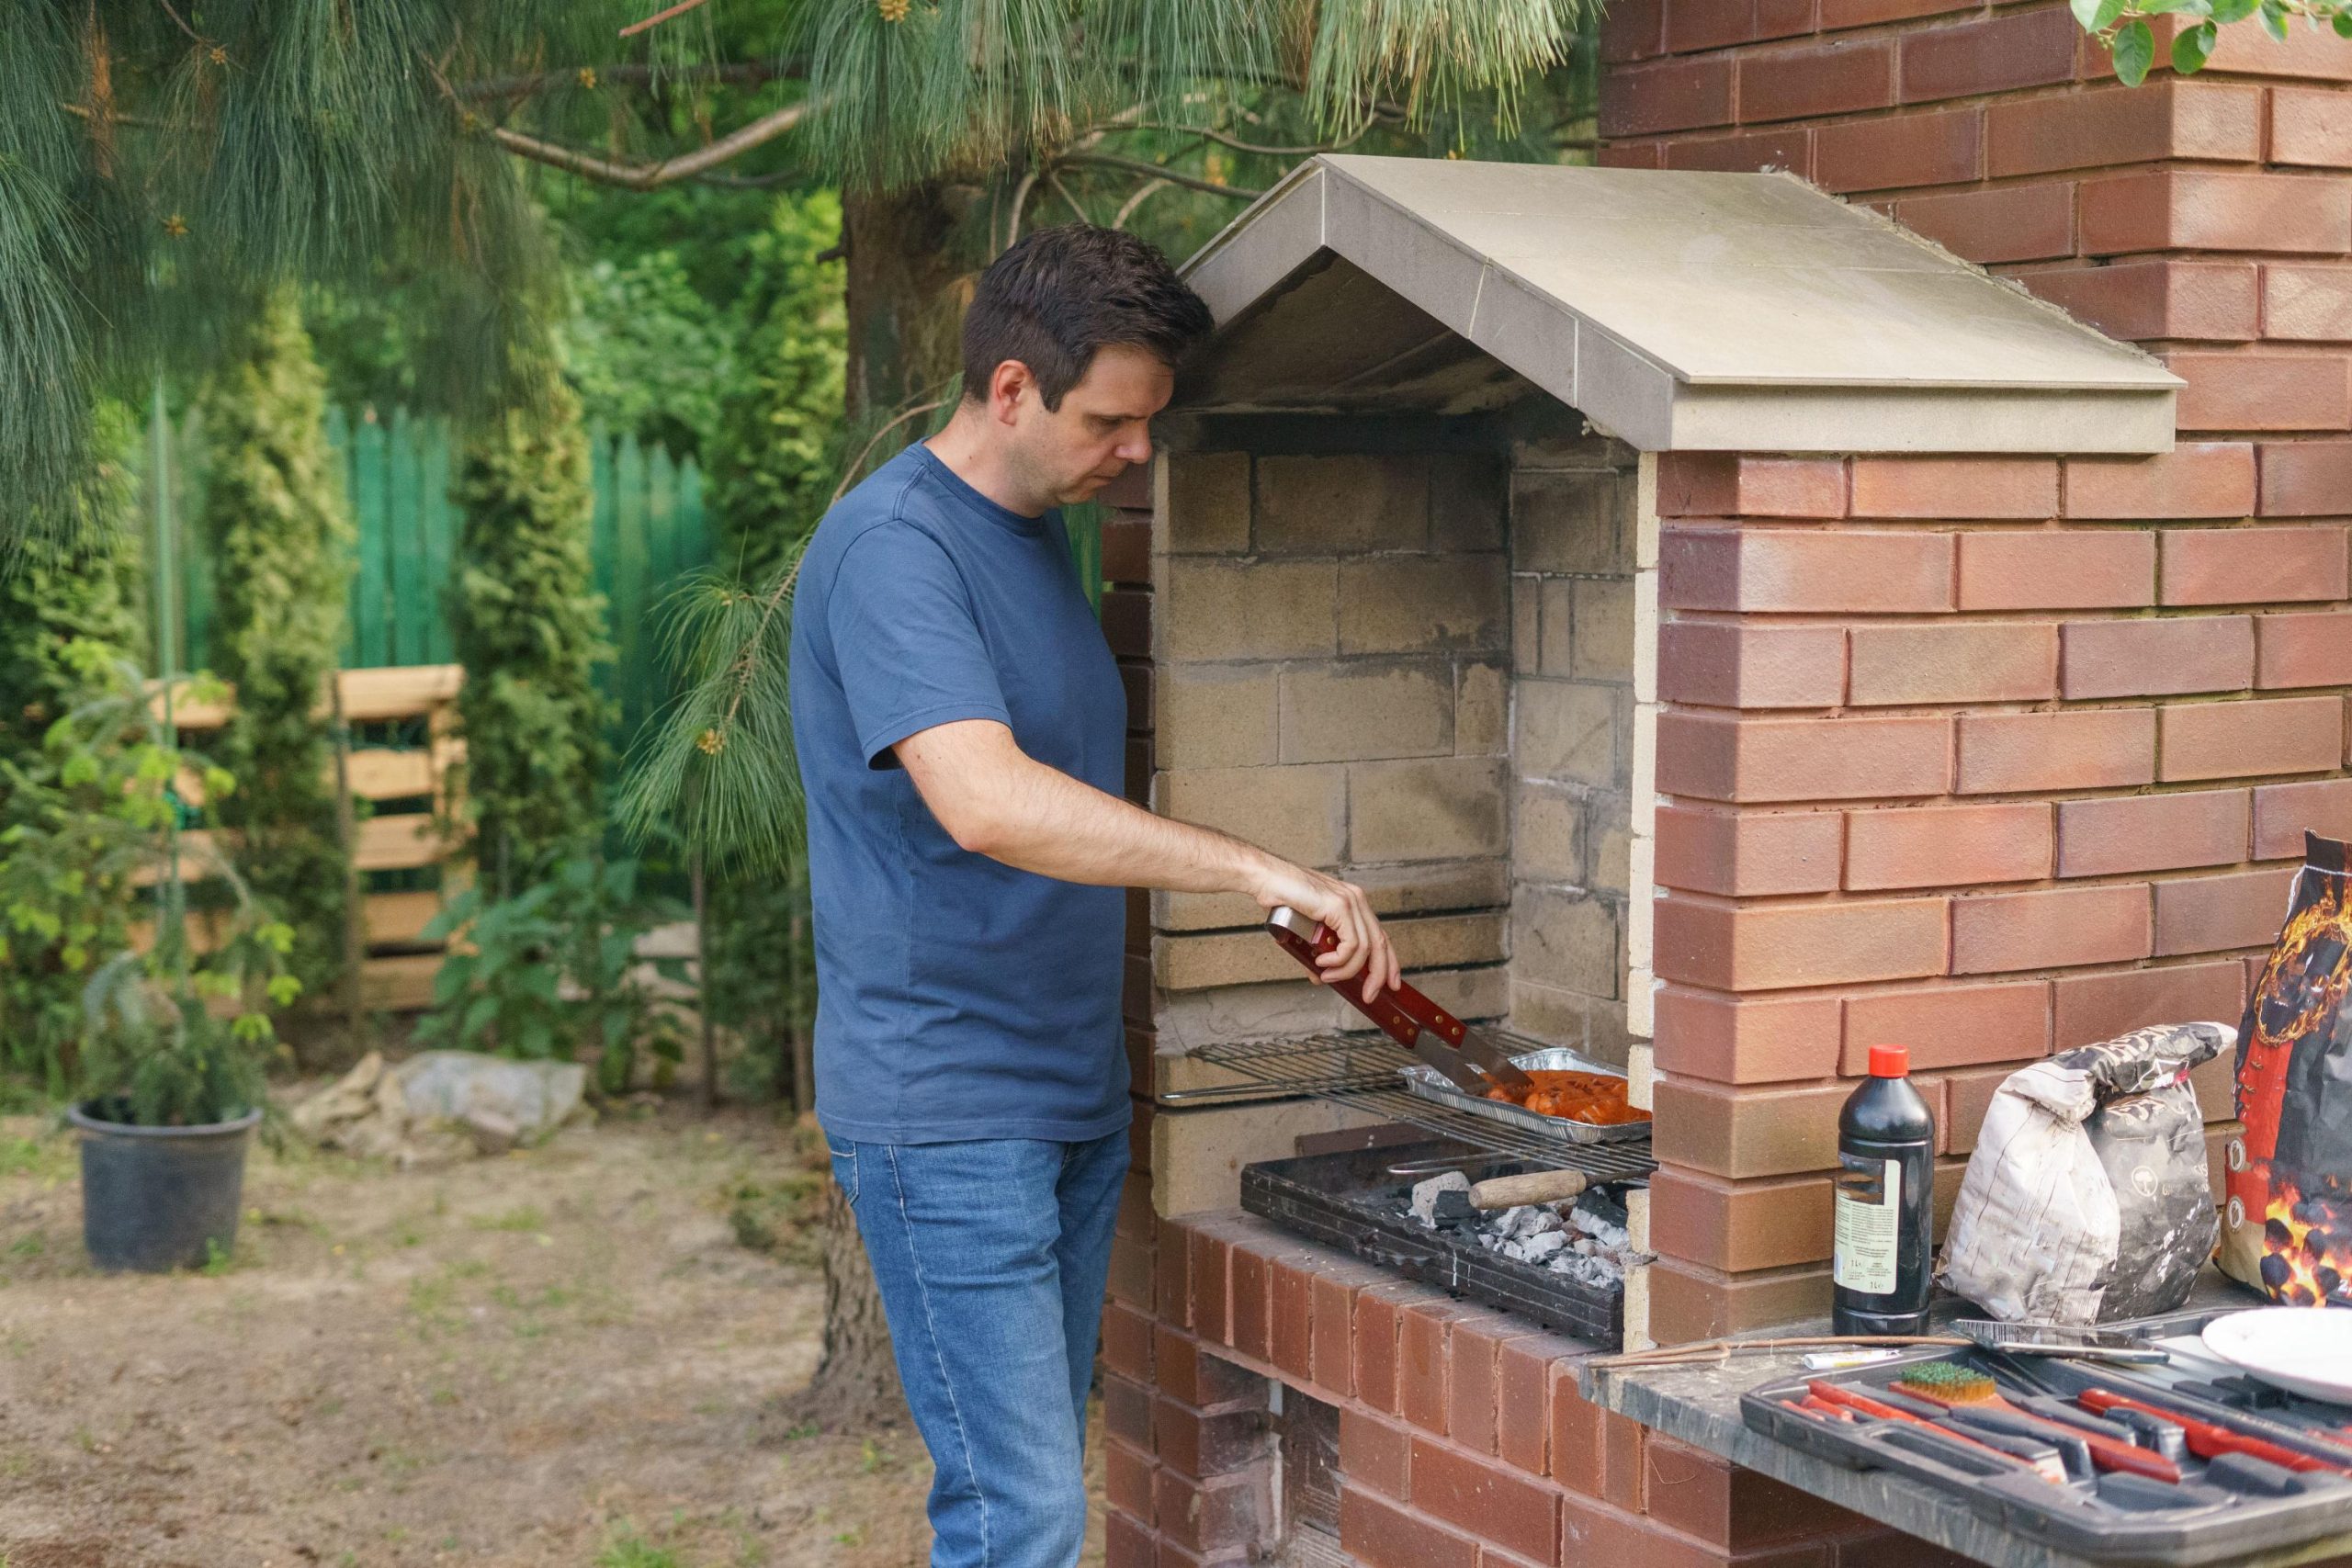
One of the easiest ways to save money is to build the outdoor kitchen on a patio or other suitable surface you already have. Installing a completely new foundation can add significant labor and material costs to the project.
Inspect the existing surface first. It should be stable, level enough for the planned equipment, and in suitable condition for its intended use. Major cracks, drainage problems, or unstable areas may need attention before you add heavy features.
If the patio looks dated but remains structurally sound, cleaning it may make a surprising difference. Depending on the surface, an appropriate cleaning method can remove dirt and buildup.
You can then improve the appearance with furniture, planters, or an outdoor rug rather than replacing the entire patio. This allows more of your budget to go toward features that improve the cooking area.
3. Choose a Freestanding Grill Instead of a Built-In Model
Built-in grills create the sleek appearance seen in many luxury outdoor kitchens, but they can require custom framing, installation, and additional construction. A quality freestanding grill can provide similar cooking ability with much less work.
Position the grill beside a prep station or outdoor cabinet to create the appearance of one connected cooking zone. Choosing nearby surfaces and furniture with similar finishes can make separate pieces look more coordinated.
A freestanding grill also gives you flexibility. If you redesign the patio later, you can move it rather than rebuilding the kitchen around a permanent appliance.
Do not sacrifice safety for appearance. Follow the grill manufacturer’s requirements for ventilation, clearances, placement, fuel connections, and nearby combustible materials.
4. Create an Affordable Prep Station
Counter space makes an outdoor kitchen much easier to use. Instead of building a long custom countertop, create a smaller preparation station near the grill.
An outdoor-rated work table, rolling cart, or suitable cabinet can provide room for cutting ingredients, holding serving trays, and organizing cooking supplies. A movable cart is especially useful because it can be stored or repositioned when needed.
Choose surfaces that can handle outdoor conditions and are appropriate for food preparation. The material should be easy to clean and able to tolerate the weather conditions in your area.
A small prep station can also reduce trips between the indoor kitchen and backyard. Keep frequently used tools nearby in weather-appropriate storage, but bring food and temperature-sensitive items indoors after cooking.
5. Add a High-End Look With Affordable Finishes
You do not always need expensive materials to create an upscale appearance. Often, the overall design matters more than the price of each individual feature.
For example, you can use one attractive finish as an accent instead of covering the entire kitchen with it. A small section of stone-look veneer, tile, or another outdoor-rated finish may create a focal point while requiring less material.
Simple finishes also tend to age better visually than overly complicated designs. Neutral tones can make inexpensive components look more coordinated and allow furniture or plants to provide color.
Before choosing a finish, check whether it is suitable for exterior use, local temperatures, moisture, and areas near cooking equipment. Indoor materials may crack, fade, or deteriorate when exposed to outdoor conditions.
6. Save Money With Smart Outdoor Storage
Storage can make an outdoor kitchen look more organized, but custom cabinets are not always necessary. Affordable alternatives can keep cooking tools and supplies close by without adding thousands of dollars to the project.
Look for outdoor-rated cabinets, carts, storage benches, or weather-resistant containers. Choose products designed for the conditions they will face, especially if the cooking area is uncovered.
Avoid storing items outdoors if moisture, pests, or extreme temperatures could damage them. Food should generally be brought inside rather than left in outdoor cabinets.
Good storage also reduces visual clutter. Keeping tools, grill accessories, and serving items out of sight helps a basic outdoor kitchen look more polished.
This is also a good place to avoid costly home problems caused by poor planning. Do not block drainage, vents, utility access, or areas that need regular inspection simply to create additional storage.
7. Create a Budget-Friendly Outdoor Bar
An outdoor bar can make the kitchen feel more luxurious without requiring complicated construction. It also creates a place where guests can sit without entering the main cooking area.
A narrow counter attached to an appropriate structure can serve as a simple bar. Another option is a freestanding outdoor table or console paired with stools.
Before buying new furniture, check secondhand stores, online marketplaces, and items you already own. A sturdy piece may only need cleaning or refinishing with products appropriate for its material and outdoor exposure.
Keep the bar simple. A counter, two or three seats, and nearby lighting may be enough to make the area feel complete.
8. Use Lighting to Make the Space Feel More Expensive
Lighting is one of the most affordable ways to change how an outdoor kitchen looks at night. Well-placed fixtures can make even a basic cooking area feel warm and inviting.
Outdoor string lights can provide general atmosphere over a dining or seating area. Solar lights can mark pathways and landscape edges, while task lighting is useful around food preparation areas.
Avoid relying only on decorative lighting where you handle food or operate cooking equipment. The grill and prep surfaces should have enough usable light for safe cooking.
Choose fixtures designed for outdoor exposure and install them according to manufacturer instructions. If permanent electrical work is required, follow local codes and use a qualified professional where necessary.
9. Make Dining Furniture Part of the Design
You can make an outdoor kitchen feel larger and more complete by creating a nearby dining zone. You do not need an expensive matching furniture collection to accomplish this.
Start with a sturdy outdoor table and enough chairs for the number of people you normally host. If your furniture does not match perfectly, use cushions or other outdoor textiles in similar colors to tie the pieces together.
An outdoor rug may help define the dining area if it is appropriate for the surface and location. Planters can also create a visual border between cooking and dining spaces.
Leave enough space for people to move between the table and kitchen without walking too close to the grill. A practical layout will feel more comfortable than one crowded with decorative furniture.
10. Add Shade Without Building a Full Roof
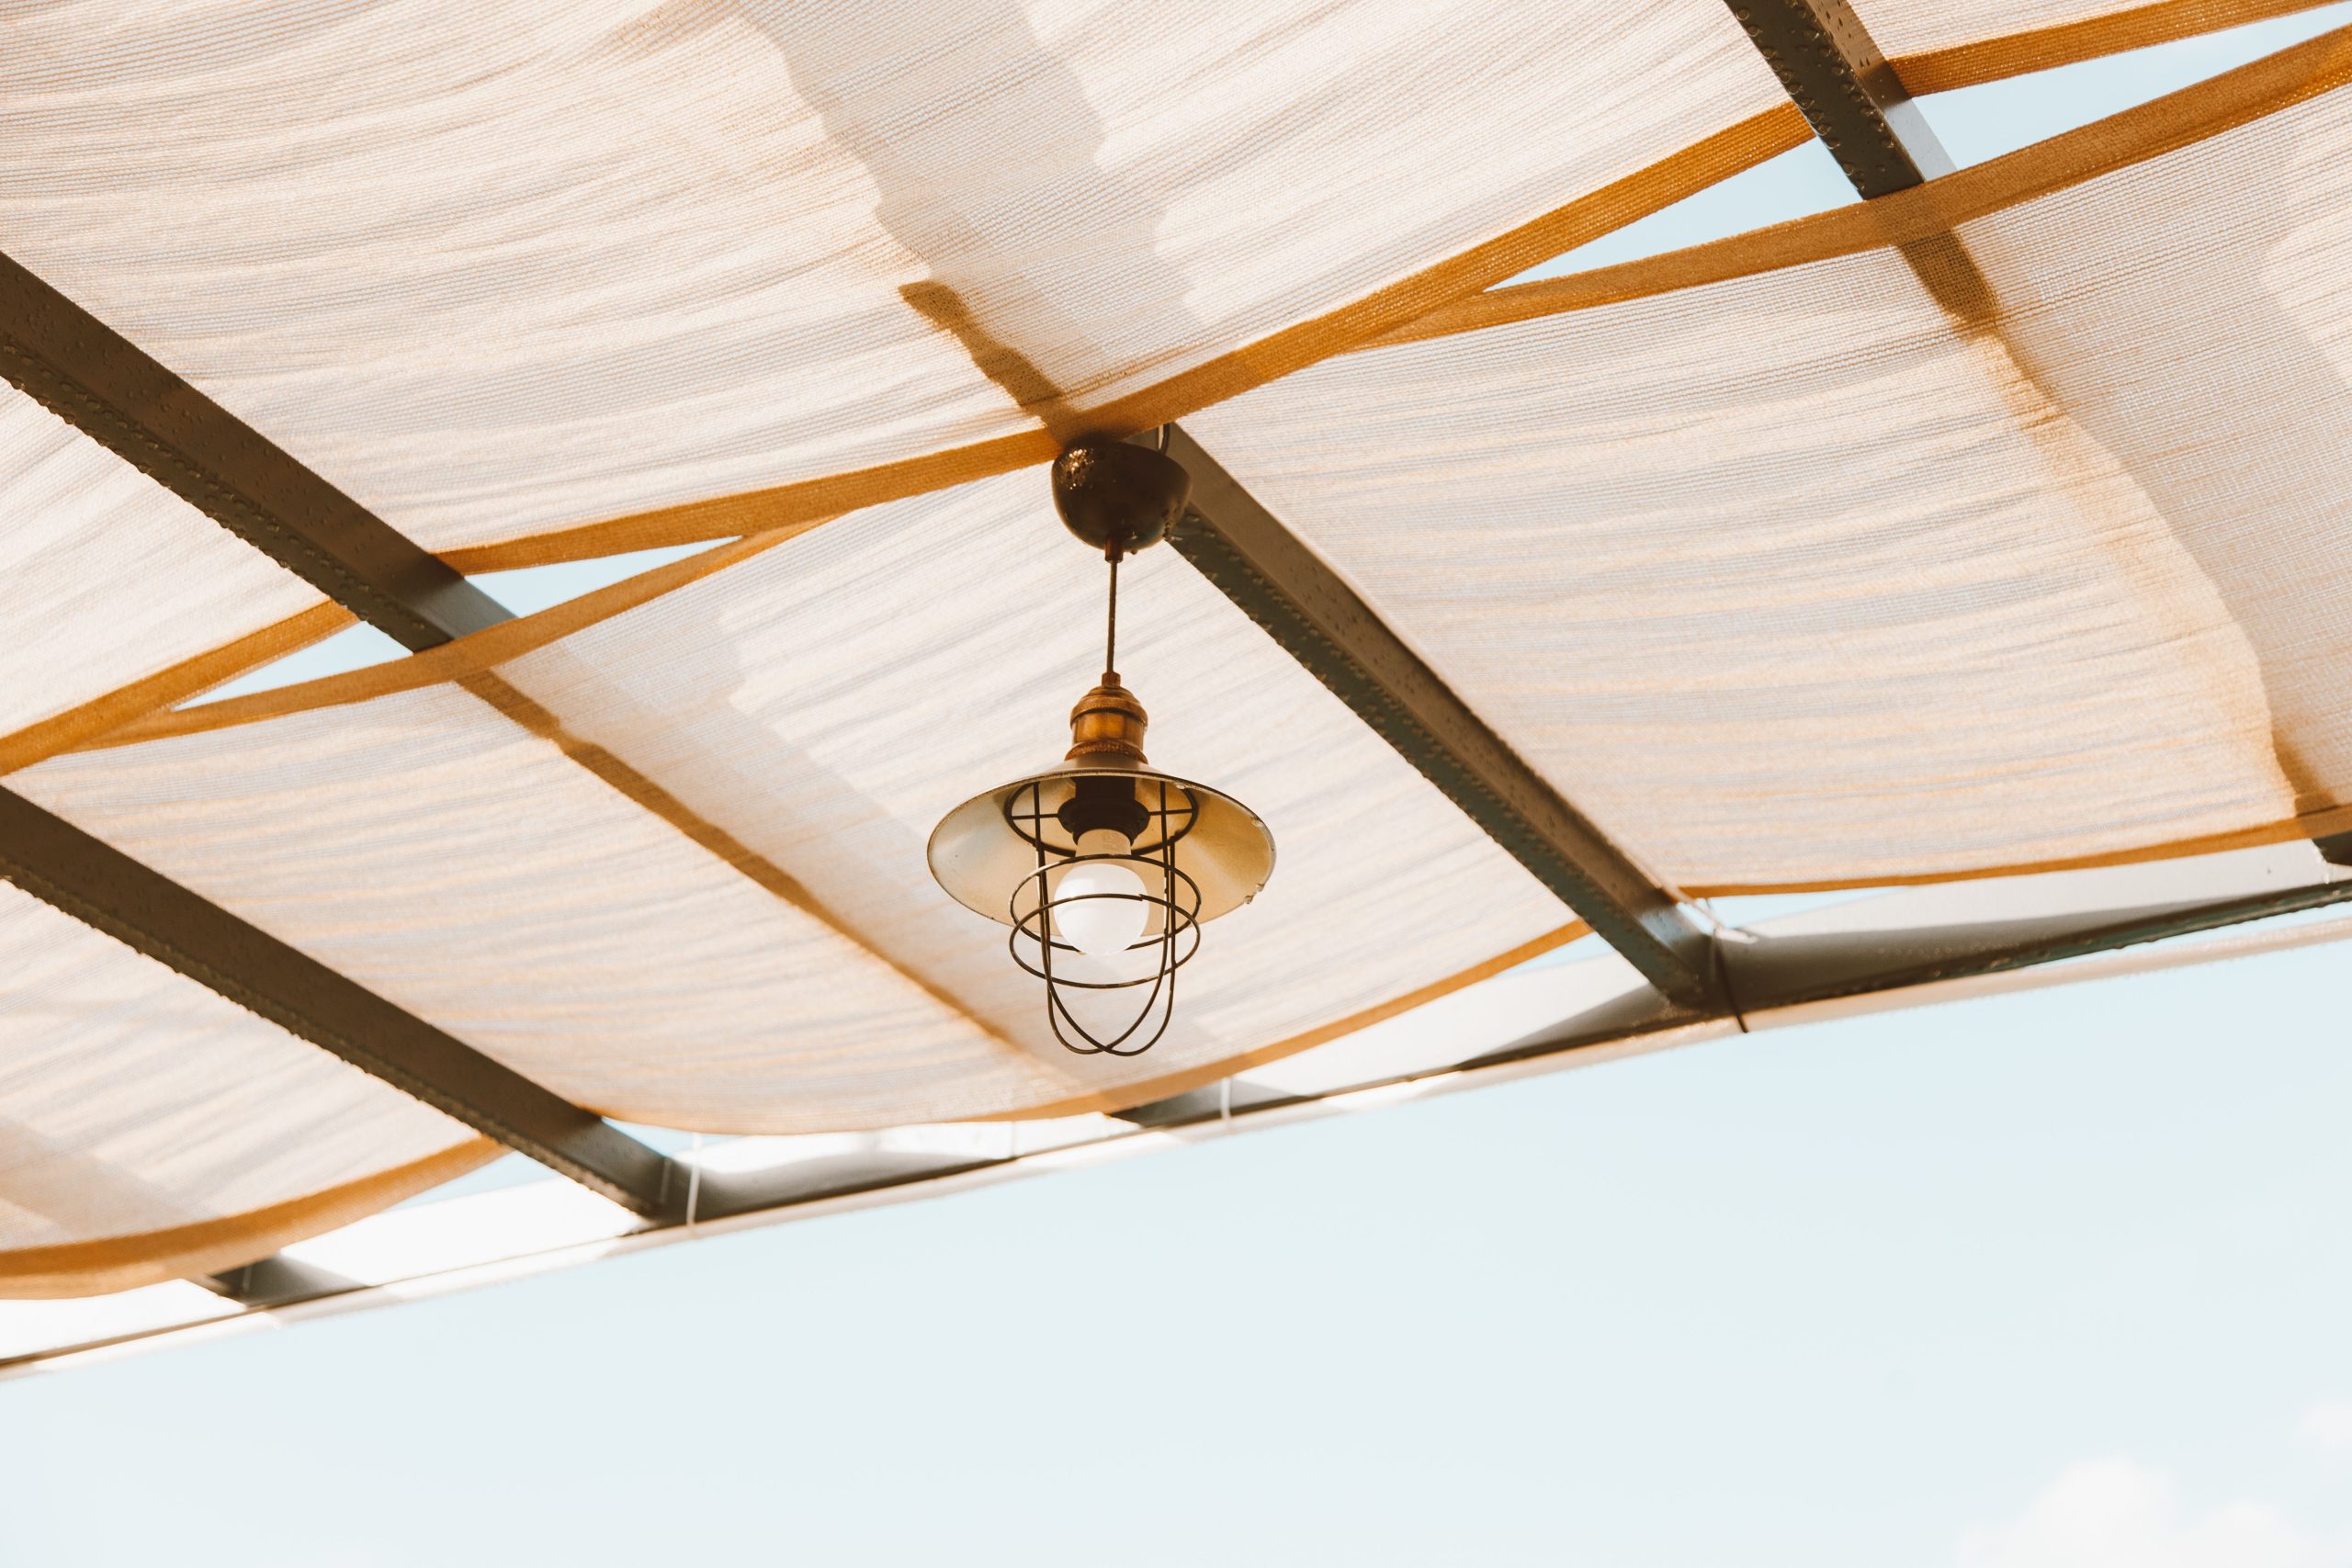
Shade can make an outdoor kitchen more comfortable during warm weather, but constructing a permanent roof can greatly increase the cost of the project.
A patio umbrella is one of the simplest options for dining and seating areas. A properly installed shade sail may provide wider coverage. Existing pergolas can also offer partial shade and support certain outdoor accessories when appropriate.
Be careful about placing shade materials over or near grills and other heat-producing appliances. Cooking equipment needs proper clearance and ventilation. Always follow manufacturer instructions and applicable fire-safety requirements.
Adding shade only where people sit may be more affordable than covering the entire kitchen.
11. Spend Your Budget Where It Matters Most
A budget outdoor kitchen does not mean choosing the cheapest product in every category. Spending more on important features and saving elsewhere can produce better long-term results.
For example, a reliable grill may deserve a larger portion of the budget if you cook outdoors frequently. Durable work surfaces may also be worth prioritizing because they receive regular exposure to food, weather, and cleaning.
You can save on decorative items, furniture, planters, and features that are easy to replace later.
Create a complete project budget before shopping. Include materials, appliances, hardware, delivery, tools, professional work, and a small allowance for unexpected renovation expenses. Seeing the full estimated cost can help you decide which features should be completed now and which can wait.
12. Build the Outdoor Kitchen in Stages
You do not have to finish the entire outdoor kitchen at once. Building in stages can make the project easier to afford while helping you learn which features you actually need.
Start with the essentials: a safe cooking area, a grill, and a preparation surface. Use the kitchen for a while before adding more features.
The next stage might include storage, improved lighting, or dining furniture. Later, you can add shade, upgraded finishes, or additional appliances if they fit your needs and budget.
Planning the complete layout before starting is still important. Even if you build gradually, knowing where future features may go can prevent you from placing permanent elements in inconvenient locations.
A phased approach also prevents you from spending heavily on trendy features that may rarely get used.
Conclusion
An attractive outdoor kitchen does not need to look inexpensive just because you are working with a limited budget. A compact layout, freestanding grill, simple prep station, organized storage, and coordinated finishes can create a polished space without the cost of a fully custom installation.
Focus on the features that improve how you cook and entertain rather than trying to copy every detail of a luxury outdoor kitchen. Reusing an existing patio, choosing movable furniture, adding affordable lighting, and using premium-looking materials only as accents can help you spend less while still creating a finished appearance.
Most importantly, plan before you buy. Measure the space, create a realistic budget, consider safety requirements, and decide which features matter most. You can always build the kitchen in stages as money becomes available. With thoughtful choices, your backyard can have a stylish and useful outdoor cooking space that looks far more expensive than it actually was.